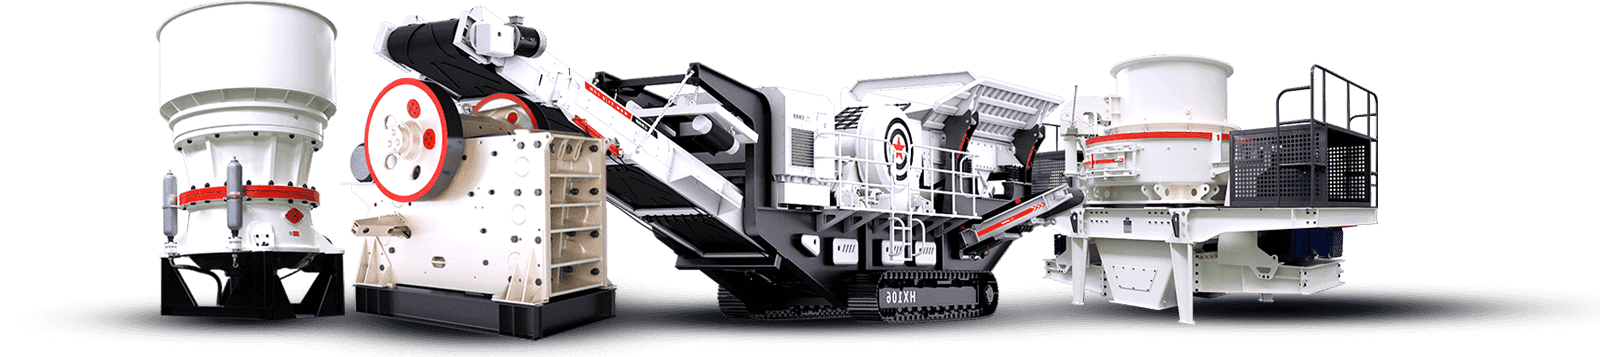
粗中细碎,800mm以内石头均可碎石成砂
多元组合,85-650t/h的产量设计效率高
回本快,05-12-13石子成品轻松达标
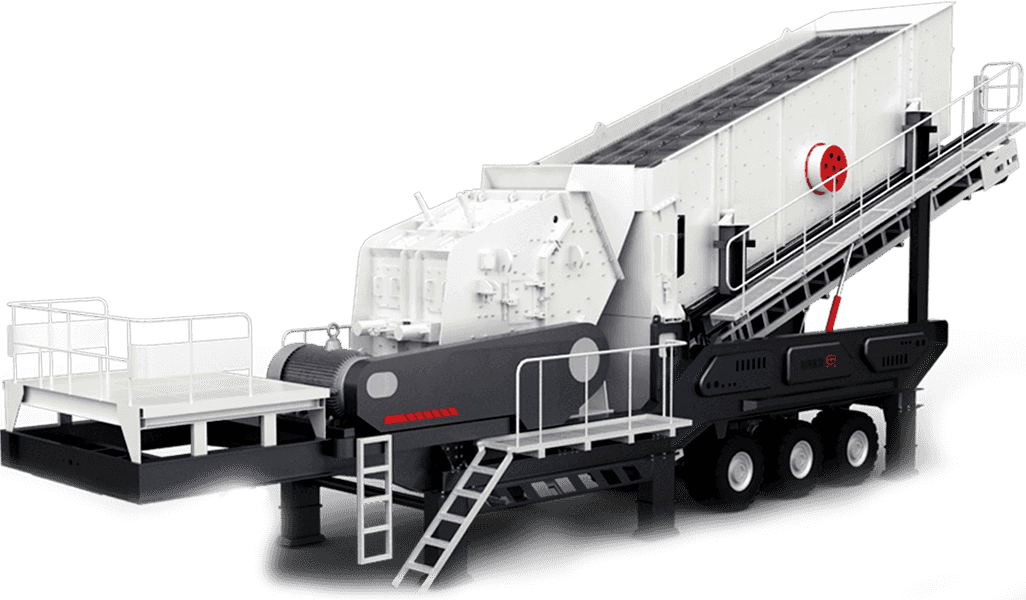
工艺升级,制砂、整形(12-585t/h)两不误
低投高报,05(0-5mm)精品细砂,唾手可得
环保低噪,入料<50mm,轻松制砂品质护航
红星机器为您提供各种行业资讯、产品知识等,让您第一时间了解市场变化、把握行业脉搏。

开一家机制砂厂需要多少钱?开一家机制砂厂,二三十万到数百万,根据产量和配置设备而定,本文为您配置多种方案,免费为您“量身订制”,可在线咨询。
1250立轴制砂机有多重?每小时产量是多少?附型号参数表2023-09-071250立轴制砂机也称1250立轴破碎机,是一种无筛条、可调式细碎设备,采用立式结构设计,占地面积小,运行成本低,是很多小型砂石厂老板们的钟爱设备之一。这里主要是对该设备重量、时产量等客户比较关注问题的介绍,具体如下:
电厂粉煤灰加工设备及工艺流程 一套设备下来多少钱?2023-09-04原粉煤灰是由结晶体、玻璃体及少量未燃尽碳组成的一个复合结构的混合体,而其中的粗灰则富集了粗大多孔的玻璃体和疏松多孔的未燃尽碳和结晶体,因此粗灰由于细度大、需水量比大,无法直接利用于混凝土和一些新兴加工技术。若能够将其磨细处理,便可扩大粉煤灰用处。那可用于电厂粉煤灰加工设备有哪些?具体工艺流程又是怎样?一套设备配下来要多少钱?这里为您解答:
12和13石子是建筑生产中普遍使用的石子标准规格,很多从业者都知道鄂破是用来当做一破粗碎的,那打12、13石子可以用鄂破机吗?用多大的?这里为您解答。
2023-08-31目前,大多数现有的人工制砂生产线都采用水洗生产工艺。 无论是使用轮式,还是螺旋式洗砂机,水资源都是必不可少的。 那洗一吨砂子要消耗多少吨水?成为砂石厂商比较关注的问题。这里以时产80吨洗砂机设备为例,具体该产量下洗砂机用水量是多少吨?设备一套下来多少钱?这里为您解答:
2023-08-28青石是一种常见的建筑材料,经过破碎处理后,能够把青石加工成不同粒度的石料,用于建筑,筑路,架桥等多个领域。青石破碎生产线规模可大可小,我们以时产200吨的规格为例,向您说明配置一条完整的青石破碎生产线需要用到哪些设备?报价怎么样?
2023-08-25破碎铁矿石用什么破碎机?附生产线工艺流程图矿石破碎是铁矿石加工的首要步骤,通过破碎将原始矿石粉碎成所需颗粒大小,为后续选矿和提炼过程提供合适的物料。那破碎铁矿石用什么破碎机?具体破碎生产线工艺流程又是怎样?这为您解答:
一吨花岗岩可制成多少沙?花岗岩制砂机有几种?花岗岩,坚硬且美丽的石材,在建筑、装饰等领域广泛应用。但在应用之前,花岗岩需要经过破碎和加工,其中制砂是关键环节之一。那一吨花岗岩可以制成多少沙?常见的花岗岩制砂机有几种?这里为您解答:
hp300圆锥破碎机的时产量是多少?价格及技术参数了解hp300圆锥破碎机是多缸液压圆锥破碎机中比较受客户关注的一种型号,本文主要是对这款型号机器产量、报价及其厂家有关介绍,具体如下:
全球案例汇聚,专业技术人员对物料深度解析,量身为您设计科学、合理的生产线方案。

质量是企业的生命,是品牌的灵魂。红星机器坚信唯有更专业的智能化技术检测才能生产出更好、更优的设备。
我们对生产的每台设备都要求精益求精,认真做好每一台机器。
 项
工程质量检测
项
工程质量检测
 道
环保检测工序
道
环保检测工序
 项
产品质量检测
项
产品质量检测
 个
质量核对数据
个
质量核对数据
“利居众后,责在人先”。红星始终本着开拓创新、互利共赢的宗旨,将绿色制造、节能减排的理念放在主要位置,真诚对待每一位客户,认真做好每一台机器、每一个零件。红星所拥有智能制造车间,质检电子化率达99%,物料准时配送率超95%,用金标准产品在国内外市场全面开花。
私人定制生产线·第一时间为您解答
免费定制您的解决方案